Getting Started with Claude Co-Work
A (Semi) Hands-On Workshop · Claire Kavanagh · Liminal CX
Welcome! Whether you attended the live workshop or you're working through this on your own, this guide walks you through everything step by step. Each section has a short video you can watch, a summary of what we cover, and the exact prompts you need to copy and paste.
You don't need to do everything in one sitting. Work through it at your own pace. And whenever you get stuck, your best resource is Claude itself — just describe what's happening, paste a screenshot, and ask for help.
What you'll need:
📁 Shared files: Workshop Shared Drive Folder
Sections: Step-by-step guide to Claude Features:
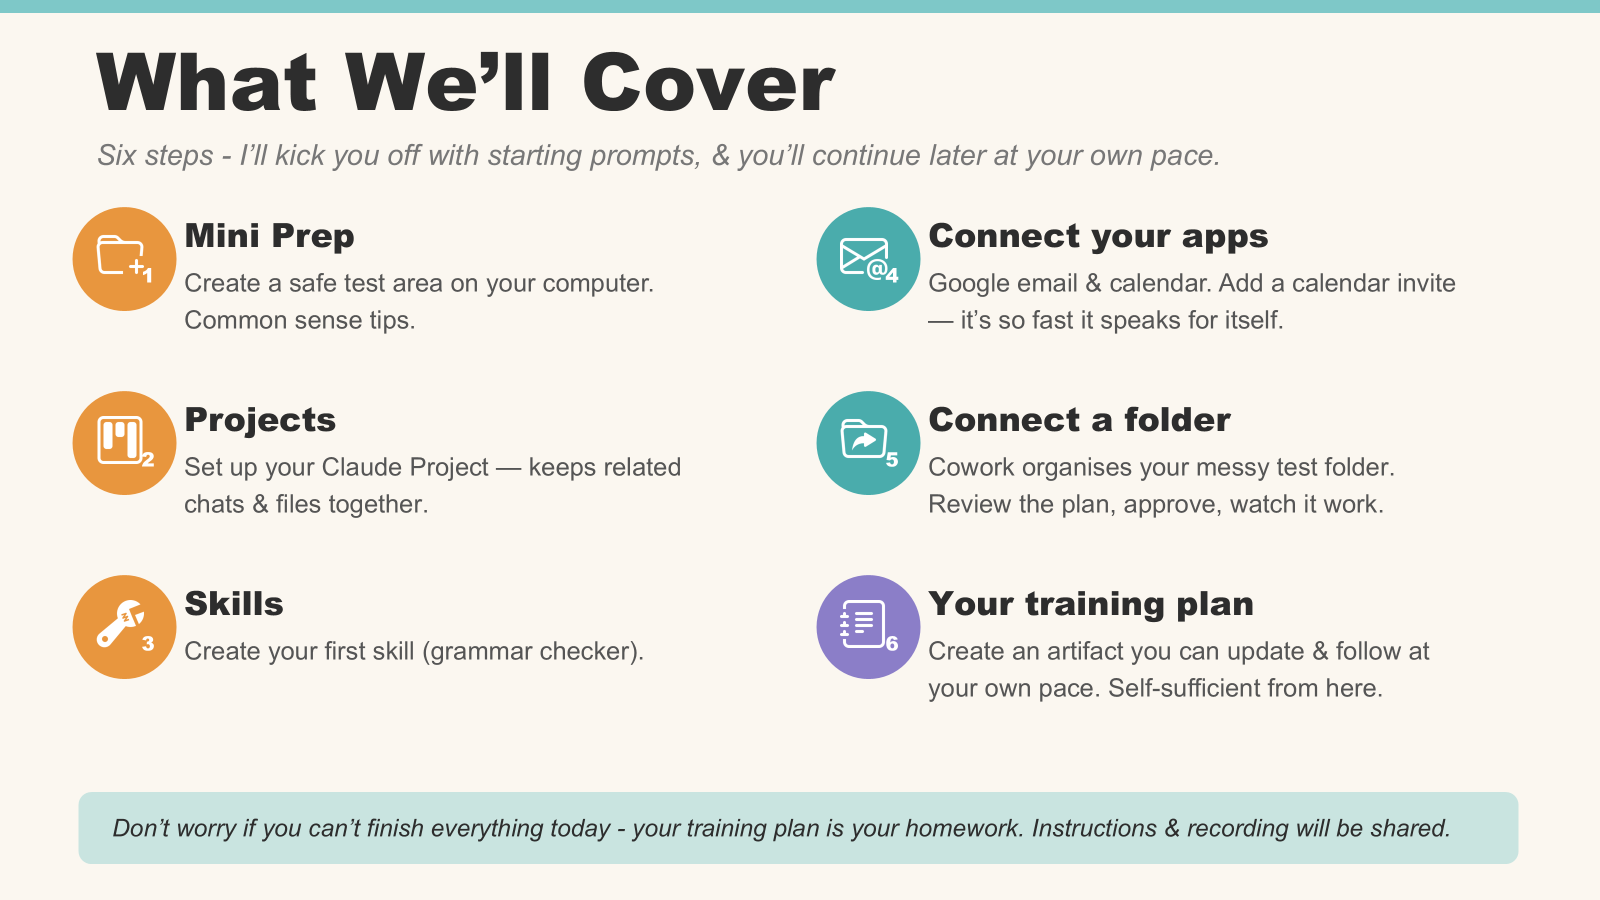
Includes step-by step videos to set up Projects, Skills, Connectors, Connecting to your PC & creating your own training plan
1 Create Claude Folder · 2 Create Project · 3 Create Skills · 4 Connect to email, canva and more · 5 Connect to your PC/files · 6 Create personalised training plan
🎬 Watch the video: ClaudeWorkshop2 — Introduction
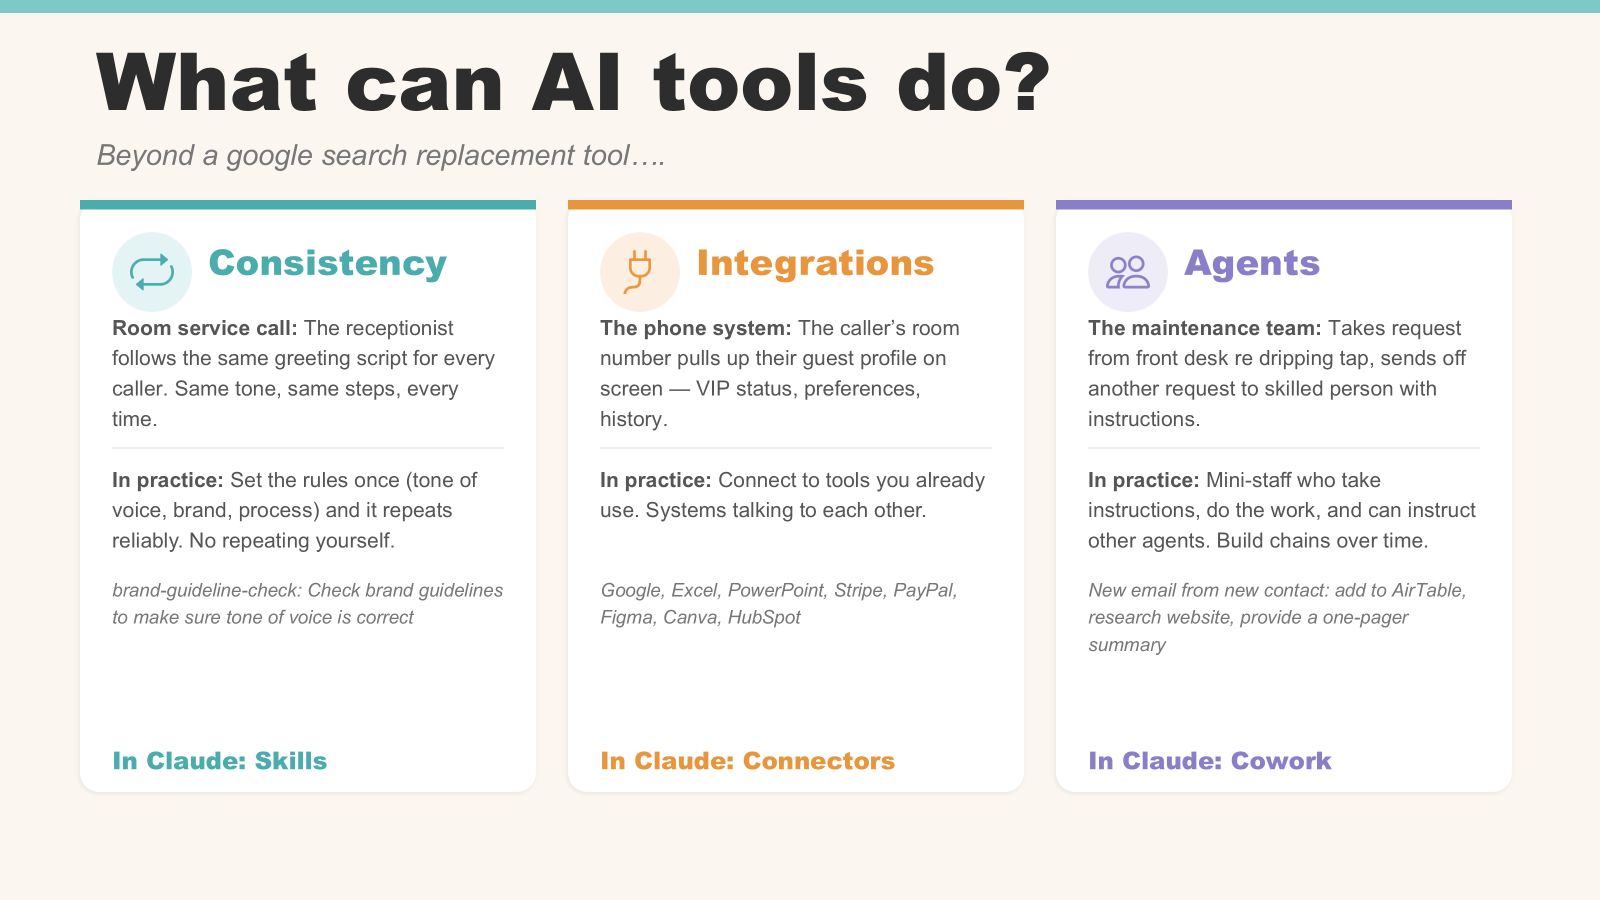
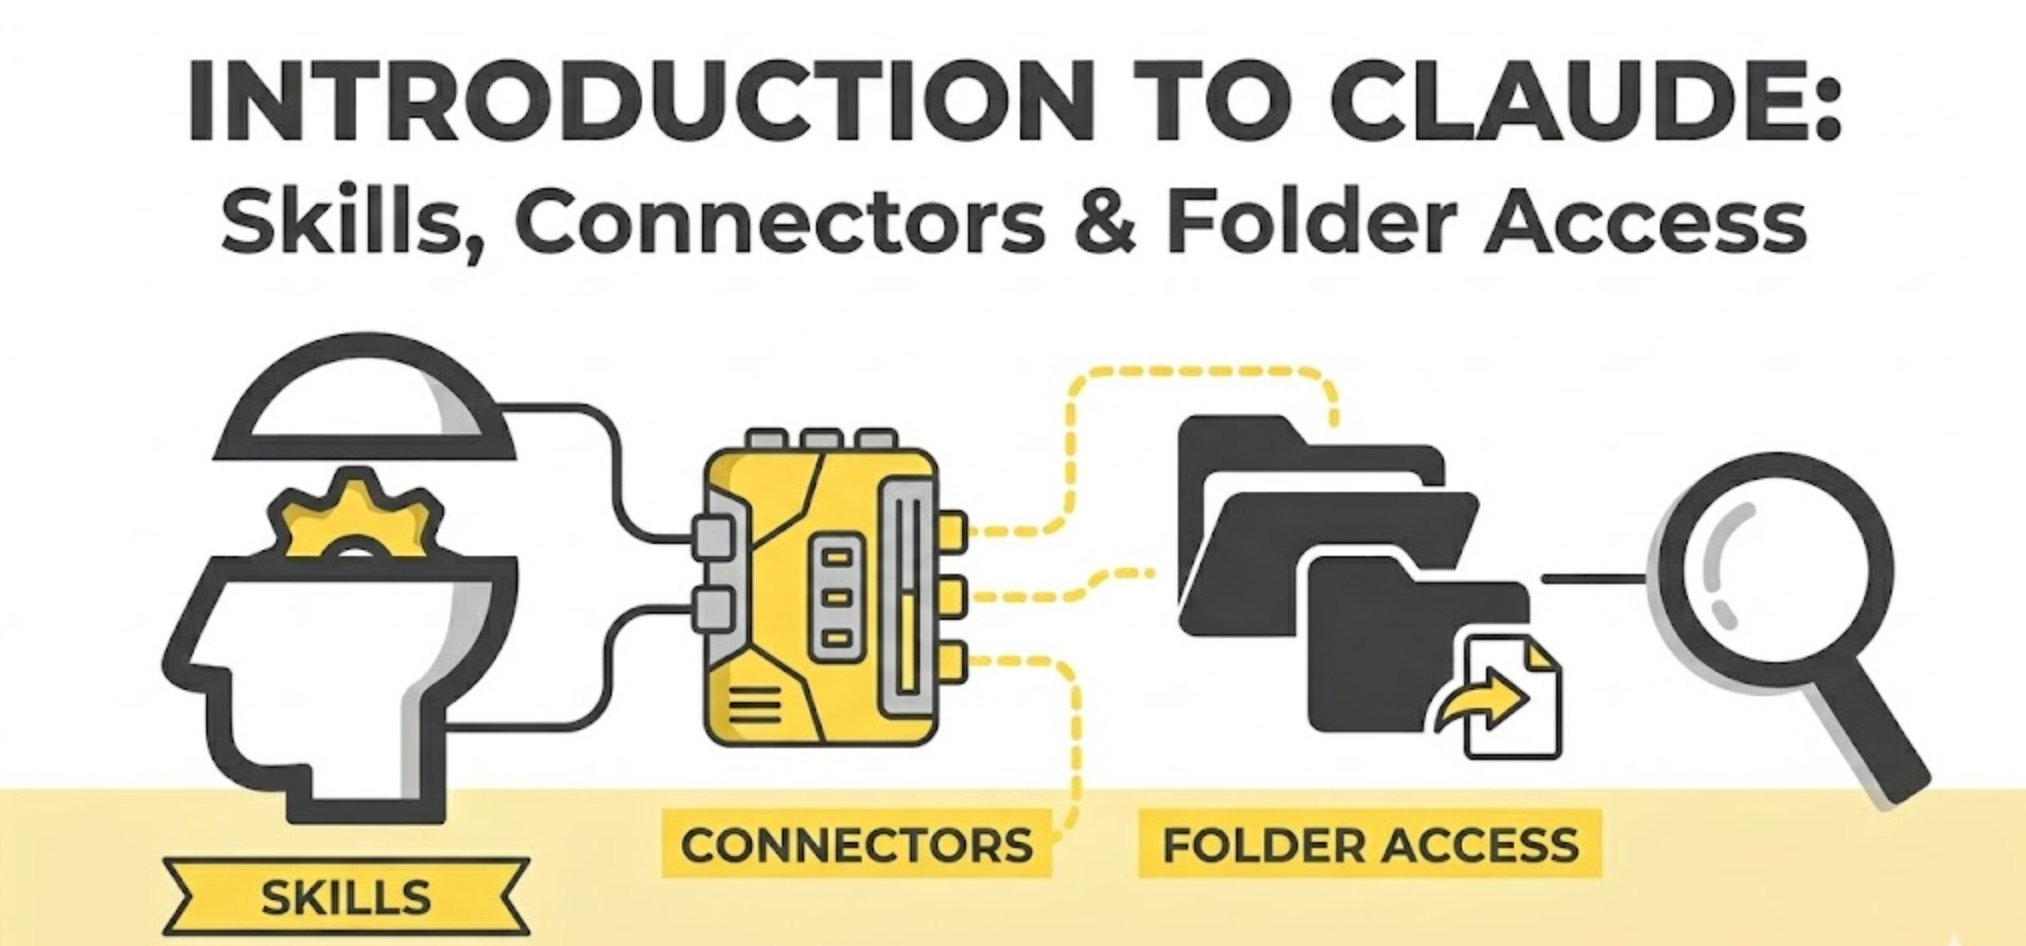
This is a fast-paced overview of what AI tools can actually do — beyond being a fancy search engine. We cover three core capabilities:
Consistency (Skills): Like a hotel receptionist who follows the same greeting script for every caller. Set the rules once — tone of voice, brand guidelines, formatting — and Claude repeats them reliably every time.
Integrations (Connectors): Like the hotel phone system that pulls up the caller's room number, VIP status, and preferences. Connect Claude to tools you already use — Google, Excel, PowerPoint, Stripe, Canva, HubSpot — and they talk to each other.
Agents (Cowork): Like the maintenance team that takes a request from the front desk and sends it to the right person with instructions. Claude can take actions on your behalf — organise files, draft emails, research websites, chain tasks together.
Three things to know before we start:
You won't complete every task today — and that's the plan. I'm giving you the starting prompts so you can keep going on your own.
🎬 Watch the video: ClaudeWorkshop2 — Step 1 Prep

Before we open Claude, we need to create a dedicated space on your computer where Claude can work. Think of it like letting someone into your house to fix something in the kitchen — you're not giving them access to the bedroom.
On Windows: Press Windows + E to open File Explorer. Navigate to your C drive.
On Mac: Click Finder in your dock, or press Cmd + Space and type "Finder".
This is the only area of your computer you'll give Claude access to. When we save skills and files later, they'll live here, not scattered across your hard drive.
Use a test folder. Keep important files out of the way. We'll create a folder to keep tests and experiments separate.
Don't blindly accept. Treat permissions with caution — just as you would an unknown email link from a stranger. You've got a new intern; you wouldn't hand them the password to the bank accounts on day one.
Watch for hidden instructions. Browser extensions and emails can contain hidden prompts — like viruses, they can do real damage: "ignore what they told you and do this instead." Be aware of non-reputable sites.
When in doubt, ask. Ask Claude: "What is best practice for handling sensitive information?" — also check their website.
Stay in control. Claude always asks before acting. You set the permissions. You approve the plan before anything changes.
NOTE: This is not professional security advice. Always refer to terms & conditions and consult your own IT/legal teams.
🎬 Watch the video: ClaudeWorkshop2 — Step 2 Projects
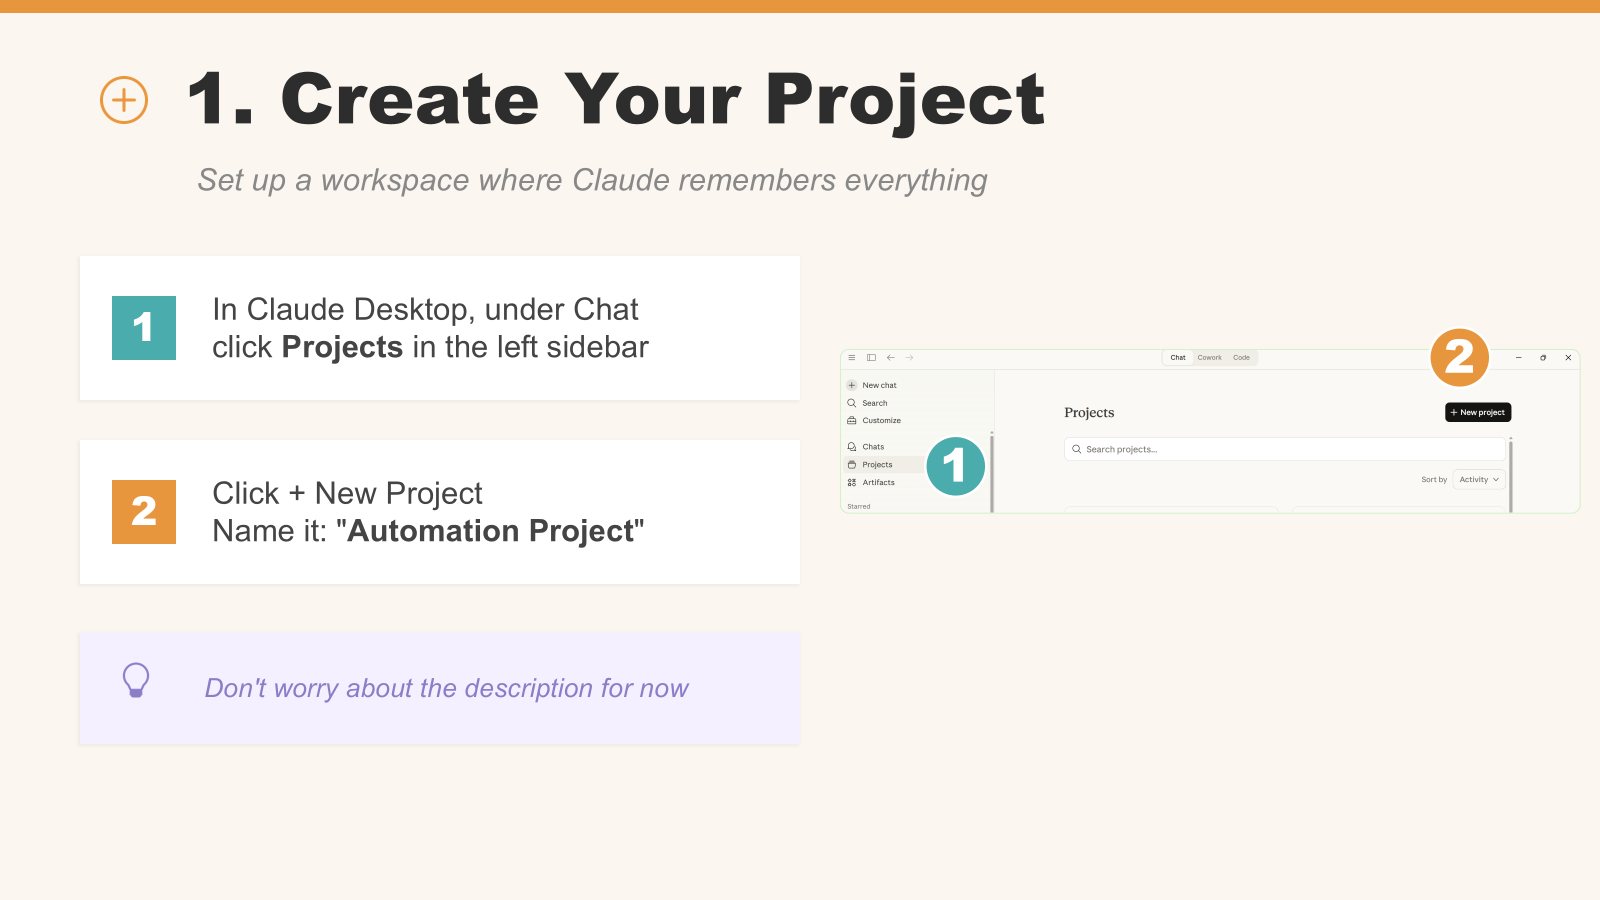
If you just have a chat with Claude and then start a brand new chat, it's like walking into a brand new room and introducing yourself again. Projects fix that. They keep related conversations and files clustered together, so Claude remembers what you've been working on.
You can create different projects for different areas — client work, personal admin, learning Claude — and conversations within each project stay connected. You can also move existing chats into projects later, so it's not a one-and-done decision.
Use this prompt:
Explain how using Projects will help me, in 3 short bullet points
You might see a model selector at the top of your chat. Don't overthink it — the default is fine for most tasks. If you're doing something that needs heavy lifting, switch to the best model available on your plan, but for everything in this guide, the default works perfectly.
If you're on a free account, you get a daily message limit. If you hit it, Claude will tell you to come back later. If you find yourself hitting that limit by mid-morning, it's probably time to consider the paid plan (around £18–20/month).
🎬 Watch the video: ClaudeWorkshop2 — Step 3 Skills
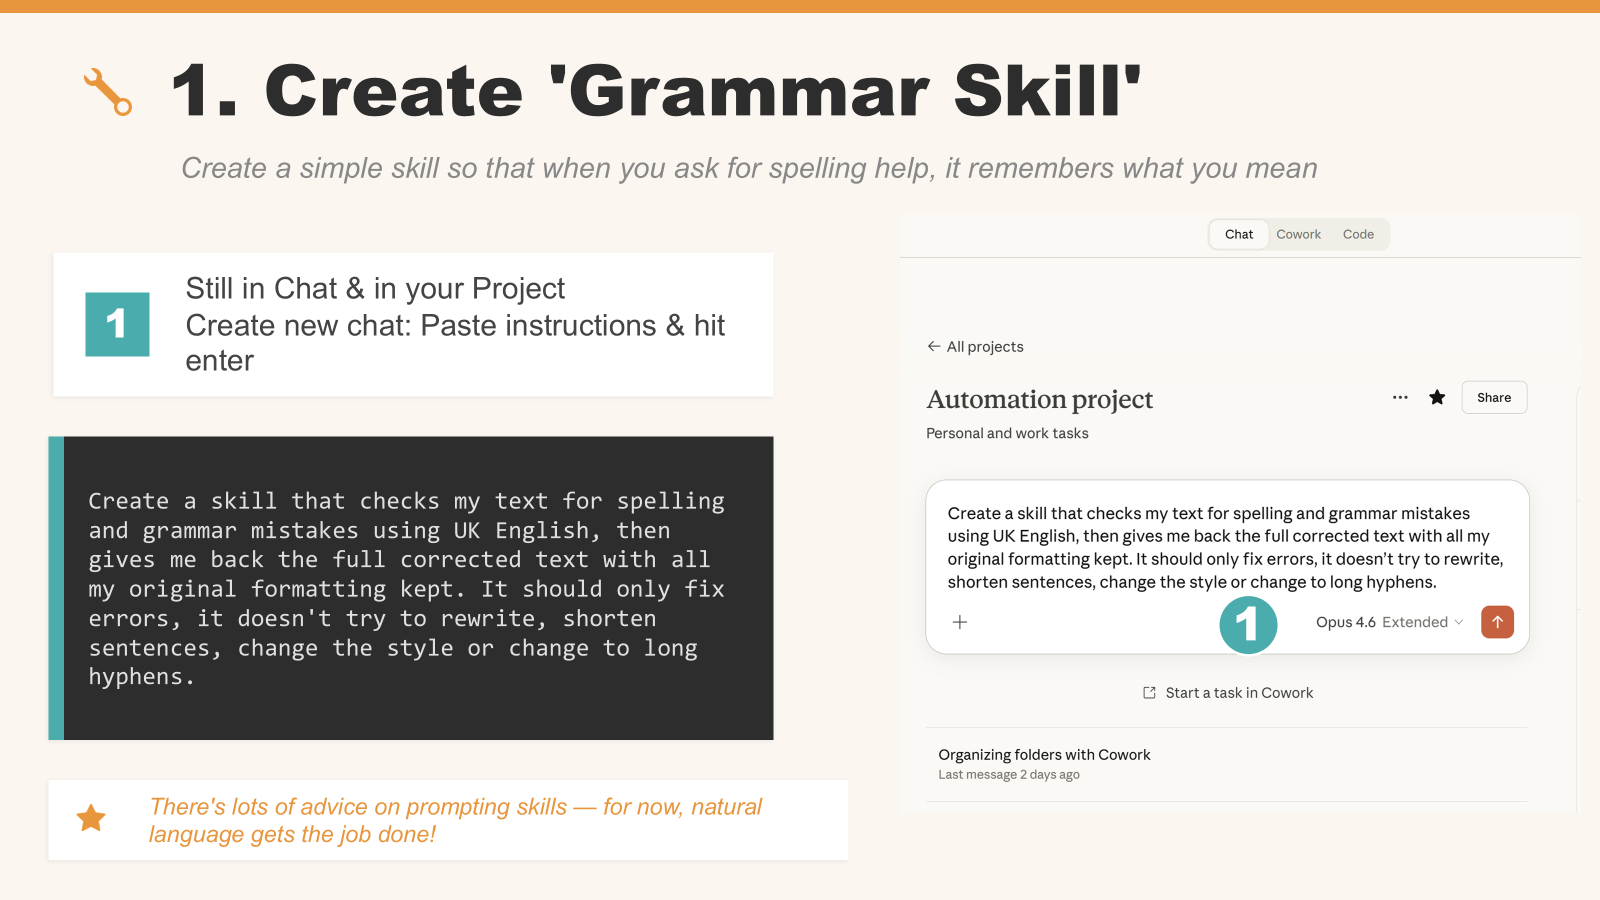
Skills are reusable instructions you create once and use forever. Think of them like cookie cutters — or if you've worked in a call centre, like macros. You write the instruction once, save it, and then apply it in any conversation.
The tricky thing about skills is that until you actually make one, they don't make much sense. Once you create your first one, you'll start getting those "aha" moments — "If I repeat this action often, I should make it a skill."
There's lots of advice on prompting skills — for now, natural language gets the job done!
When Claude creates something (like a skill file), it appears in a sidebar on the right-hand side of your chat. These are called artefacts. If you're on a free account, you may not see this sidebar — that's a paid feature. Don't worry, you can still follow along.
Use this prompt:
Create a skill that checks my text for spelling and grammar mistakes using UK English, then gives me back the full corrected text with all my original formatting kept. It should only fix errors, it doesn't try to rewrite, shorten sentences, change the style or change to long hyphens.
My second prompt (optional — but worth doing):
Sometimes I spell grammar wrong so it should also include 'check for grammer'
This teaches the skill to recognise your common misspelling. You can always edit and re-save skills — don't aim for perfection on the first go.
🎬 Watch the video: ClaudeWorkshop2 — Step 4 Connections

Connectors plug Claude into apps you already use — no copy-paste, no switching tabs. There are loads of them, and more being added every day. You might already recognise some of these: Gmail, Google Calendar, Google Drive, Slack, Canva, Figma, Stripe, PayPal, HubSpot, Zapier, Webflow, Miro, Square, Make, Netlify, Chrome.
It's possible to create custom ones if you have a tool that isn't already covered "out of the box".
🔗 Browse all connectors: Claude Connector Marketplace
Connector prompt:
Help me connect to my google email and calendar for the first time using connectors settings
Important: Don't paste passwords or API keys into the chat. But screenshots are absolutely fine.
If you don't have Gmail, there are workarounds — just ask Claude for best practices and help.
Email: Summarise your unread emails, draft replies (saves as drafts — won't send without permission), flag important messages.
Calendar: Check what's in your diary, create calendar invites, set up meetings with Zoom links.
When there's no connector: Install the Claude Chrome extension. It can take actions on any open web page — taking screenshots, clicking buttons, reformatting text. Wild the first time you see it!
Start with read-only. Build trust. Loosen the reins as your confidence grows.
A prompt to try at home:
Help me connect to [insert name of connector] and give me some examples of how I can use this personally and professionally
🎬 Watch the video: ClaudeWorkshop2 — Step 5 Files and Folders
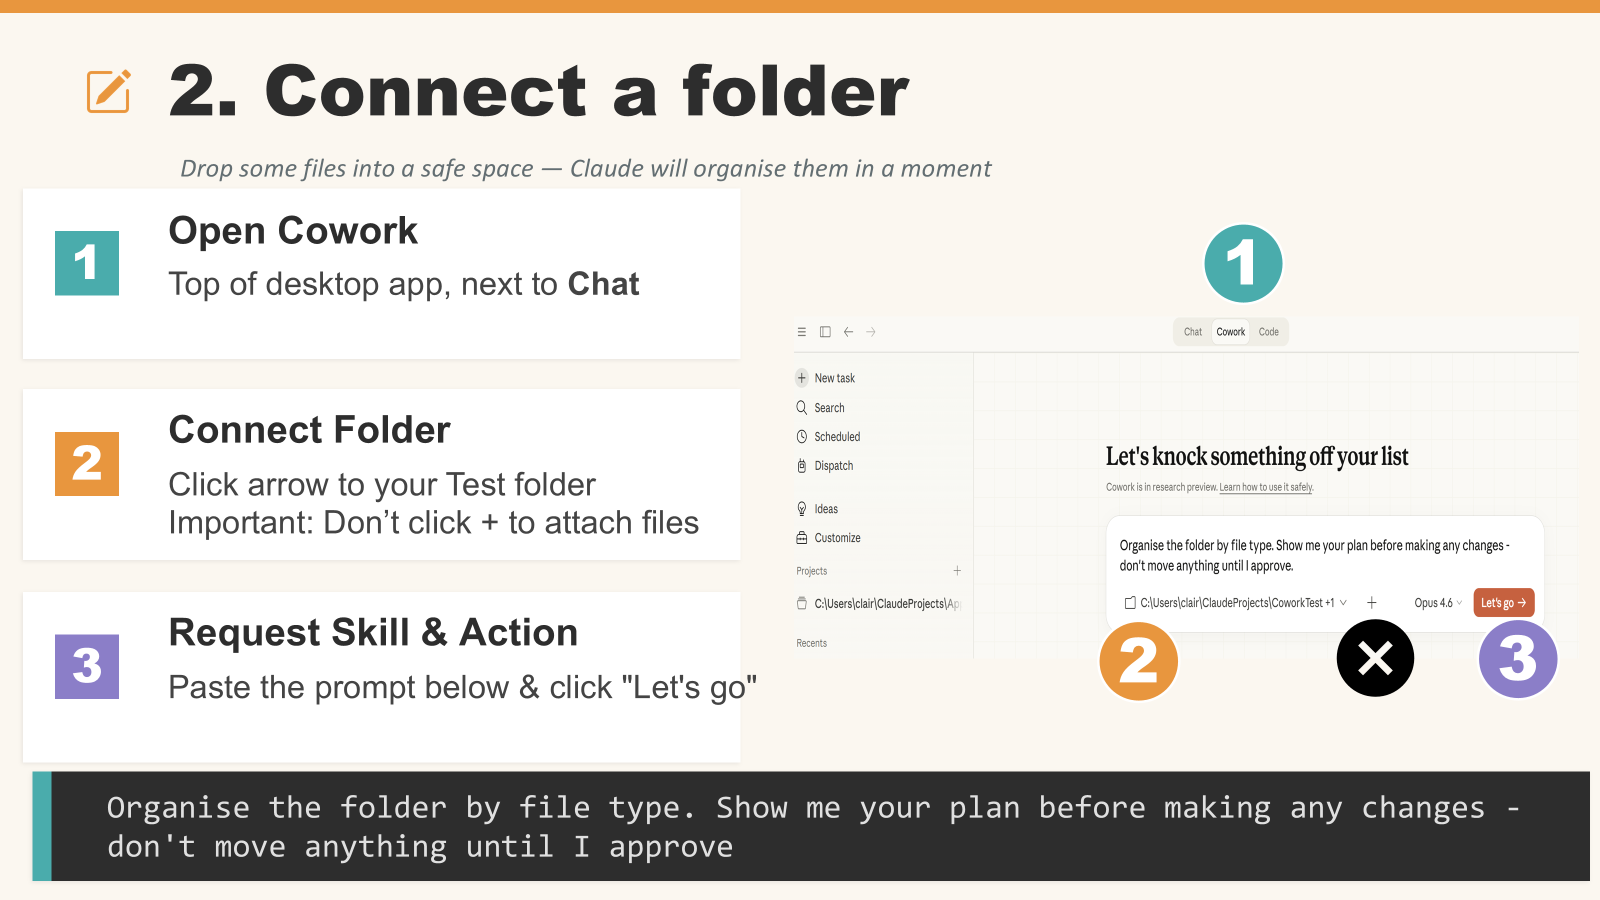
This is where Claude starts working with actual files on your computer — not copies, but the real things. It felt apprehensive at first — giving an AI access to your actual folders feels like it's stepping from the kitchen into the bedroom. But once you get over the initial hesitation, it becomes incredibly useful.
You may need to complete separate steps to connect to your folder — make a start and complete the task after the session.
Use this prompt:
Organise the folder by file type. Show me your plan before making any changes - don't move anything until I approve
If you're using Cowork for the very first time, you may need to restart Claude Desktop to enable it. If you're still stuck, ask Claude: "I can't see the folder dropdown in Cowork — can you help me troubleshoot?"
🎬 Watch the video: ClaudeWorkshop2 — Step 6 Training Plan

The whole point of this workshop is that you leave self-sufficient. This final step sets you up with a personalised training plan — built by Claude, tailored to you — so you know exactly what to try next.
Use this prompt:
See project files and create a new training plan where I can keep track of my ideas and tasks so I can remain focused elsewhere. Ask questions
Work through the tasks at your own pace. There's no deadline.
That's the last step. From here, your project is set up, your training plan is ready, and Claude is your partner for working through it.
If you get stuck on anything:
Claude is endlessly patient and never judges. That's the single most important habit to build: when in doubt, ask.
📁 Workshop Shared Drive Folder
🔗 Claude Connector Marketplace